- Posted by: Bareerah Shoukat
- E-Learning Techposts
- July 27, 2023
A Comprehensive Guide to Creating Apps with Apple Vision Pro
As technology continues to advance at an unprecedented pace, Apple remains at the forefront of innovation with its latest offering, Apple Vision Pro – an advanced computer vision and mixed reality platform that offers a fully immersive and interactive user experience. This ground-breaking AR/VR-based technology represents a major leap forward in app development, opening up a world of possibilities for developers.
Developers now have the power to build apps that seamlessly blend the digital and physical realms, providing users with an immersive and transformative experience.
Whether you’re an experienced developer seeking to expand your skill set, or a novice eager to embark on an app development journey, this comprehensive guide serves as your gateway to unleash the full potential of Apple Vision Pro.
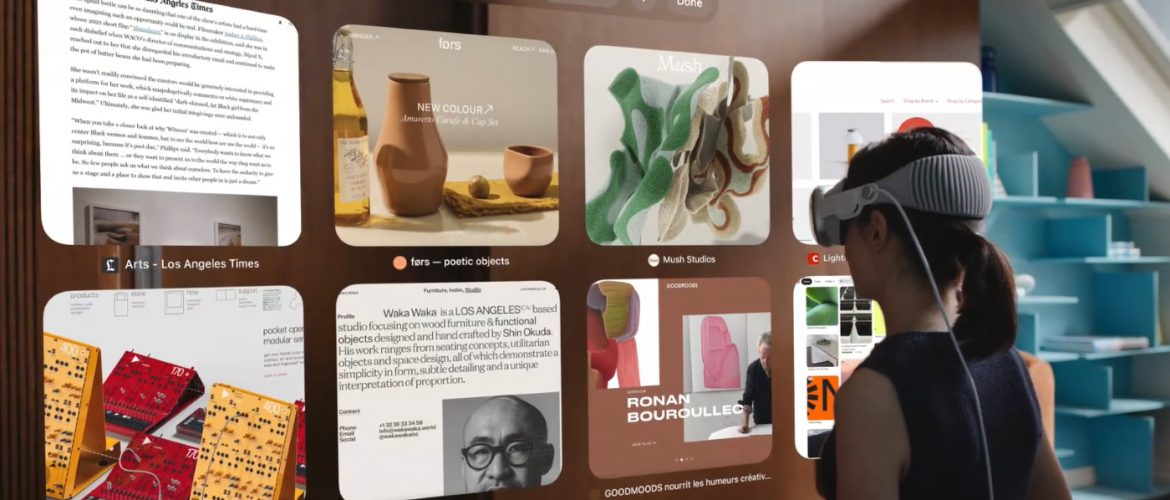
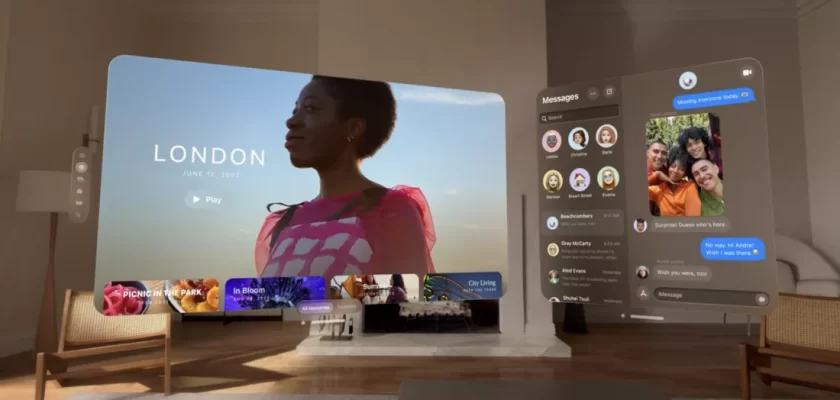
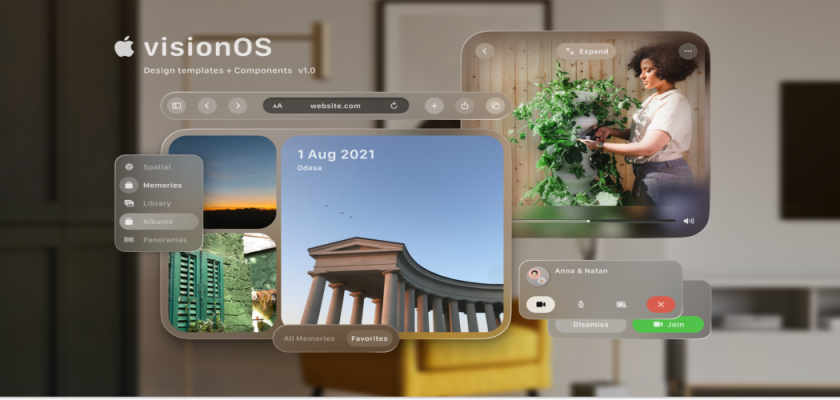
Understanding Apple Vision Pro and visionOS
To illustrate the potential of Apple Vision Pro and visionOS (the Operating System Vision Pro is built on) imagine an architecture app that allows users to visualize and interact with 3D models of buildings in real-world environments. Users can explore the virtual structures from different angles, walk through rooms, and even make changes to the design in real-time. This interactive experience enhances architectural visualization and facilitates better decision-making.
This example showcases just a glimpse of what Apple Vision Pro and visionOS can offer in terms of creating extraordinary and engaging user experiences.
Without further ado, let’s delve into how to create apps with Apple Vision Pro, and bring your innovative ideas to life!
Creating Apps with Apple Vision Pro
Let us brief you through the process of creating an Apple visionOS app from scratch, including setting up the development environment, implementing AR features, and integrating the Vision framework for advanced computer vision-first capabilities.
Prerequisites
So first and foremost, you will need the following:
• Mac computer running macOS 10.15 or later.
• Xcode 12 or later, which can be downloaded from the Mac App Store.
• Basic knowledge of Swift programming language.
Step 1: Set Up the Development Environment
- Install Xcode: Visit the Mac App Store and search for “Xcode.” Download and install Xcode by clicking on the “Get” button.
- Open Xcode: Once the installation is complete, locate and open Xcode from either the Applications folder or the Launchpad.
- Create a New Project: In Xcode, click on “Create a new Xcode project” or go to File>New> Project in the menu bar. Choose “Augmented Reality App” as the project template and click “Next.”
- Configure the Project: Provide a name for your project and select the team associated with your Apple Developer account. Choose a bundle identifier for your app and ensure that the language is set to “Swift” and the user interface is set to “SceneKit.” Click “Next” and choose a location to save the project on your Mac.
- Enable ARKit and RealityKit: In the project settings, select the target for your app and navigate to the “Signing & Capabilities” tab. Click on the “+” button, search for “ARKit” and “RealityKit,” and add them to your project.
Step 2: Designing the User Interface with SwiftUI
SwiftUI is the recommended framework for building user interfaces that adapt to any platform, including visionOS. Let’s create a basic window interface using SwiftUI:
- Open the ContentView.swift file in your Xcode project.
- Replace the existing code with the following SwiftUI code:
import SwiftUI
@main
struct MyApp: App {
var body: some Scene {
WindowGroup {
               }
           }
    }
ContentView()
struct ContentView: View { var body: some View {
                          }
Text("Hello, visionOS!")
-padding()
             }
- This code sets up the app structure and creates a simple window interface that displays the text “Hello, visionOS!”.
Step 3: Adding 3D Content with Reality Kit
To leverage the immersive capabilities of visionOS, let’s add some 3D content to our app using RealityKit:
- Create a new SwiftUI view file by going to File>New> File, selecting “SwiftUI View,” and naming it “ARViewContainer”.
- Replace the code in ARViewContainer.swift with the following code:
import SwiftUI
import RealityKit
struct ARViewContainer: UIViewRepresentable
      {
func makeUIView(context: Context)-> ARView
          {
let arView = ARView(frame: .zero)
let anchorEntity = AnchorEntity()
arView.scene.addAnchor (anchorEntity)

// Add your 3D content here
let box = MeshResource.generateBox (size: 0.1)
let boxEntity = ModelEntity(mesh: box)
anchorEntity.addChild(boxEntity)

return arView
            }
func updateUIView( uiView: ARView, context: Context) {}
       }
- In ContentView.swift, replace the existing Text view with the following code to embed the AR view:
ContentView: View
{
var body: some View {
VStack {
Text("Hello, visionOS!")
.padding()
ARViewContainer()
        }
     }
}
- Now, when you run the app, you’ll see a window with the text “Hello, visionOS!” and a 3D box rendered in the AR view.
Step 4: Testing and Iterating on the App
To test and iterate on your visionOS app, you can leverage Xcode’s built-in tools, including the visionOS Simulator and Xcode Previews.
- In Xcode, select the target device as “Apple Vision Pro” from the device selection dropdown menu.
- Use the visionOS Simulator to explore various room layouts, lighting conditions, and interactions with your app.
- To interactively preview your SwiftUI views, use Xcode Previews by clicking the “Resume” button in the canvas area.
Step 5: Deploying Your App
Once your app is ready, you can deploy it for others to experience on visionOS;
- When the App Store becomes available for visionOS, compatible apps will automatically be available, so ensure your app meets the guidelines and standards.
- To test your app on Apple Vision Pro, you can use TestFlight, a platform for beta testing iOS apps.
- If your app isn’t suitable for Apple Vision Pro, you can customize its availability in App Store Connect.
That’s it! You now have a basic visionOS app that integrates 3D content with RealityKit using SwiftUI.
Want to Learn iOS from Scratch?
Ready to embark into the exciting world of iOS development? Whether you’re a complete beginner or an experienced individual looking to enhance your skills, 10Pearls University’s “Getting Started with iOS Development” course is designed to equip you with the knowledge and tools needed to thrive in Apple’s ecosystem.
With a blend of theoretical concepts and hands-on practical exercises, you’ll gain a deep understanding of iOS development principles and best practices. Dive into the world of Apple Vision Pro and visionOS with confidence, and develop the skills necessary to create captivating and immersive apps!
If you want to jump directly to the implementation, enroll in our exciting course “Level up in Swift and iOS Development.”

What are you waiting for?